Description
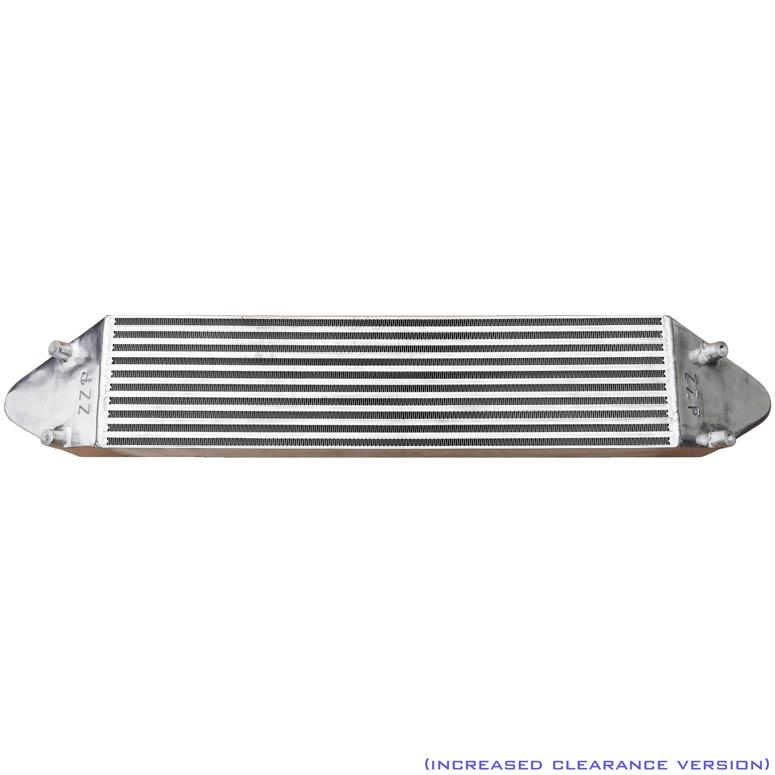
The largest, most efficient, direct bolt in replacement upgrade intercooler made for the LNF Cobalt.
The Standard core dimensions are 28"x 8.125"x 4", please take into account that this measurement does not include the end tanks to make it sound bigger than it actually is.
The Smaller size (increased clearance) intercooler core dimensions are 28"x 6.625"x 4". The smaller core will improve ground clearance.
Fits Cobalt and HHR!
Includes:
Does not come with replacement couplers. The LNF Replacement Coupler and the 2.5" Straight coupler can be purchased separately, found here.
More Info
Removal:
1.Remove headlights and bumper cover.
2.Remove stock intercooler and “L” brackets from bumper brackets and leave the brackets in the bumper.
3.Disconnect MAP sensor and vacuum line from lower charge pipe and remove the charge pipe.
4.Disconnect upper charge pipe from turbocharger and unbolt from bracket on engine and remove the charge pipe.
Installation:
1.Install 2” to 2.5” 90 degree coupler onto turbocharger using the 238 t-bolt clamp.
2.Install upper charge pipe into 2” to 2.5” 90 using one 288 t-bolt clamp and bolt to engine bracket using an M6x25mm bolt.
3.Next remove the MAP sensor from the old lower charge pipe and install into the new lower charge pipe following the directions in the included bolt pack.
4.Attach the 2.75” to 3” coupler to the charge pipe and throttle body using the 325 and 350 t-bolt clamps. Also attach the 2.5” straight coupler to the other end of the charge pipe using a 288 t-bolt clamp and place another 288 clamp on the coupler.
5.Bolt the new “L” brackets to the intercooler using the supplied intercooler bolt pack and spacers, the nylon spacers go between the “L” bracket and the intercooler.
6.While supporting the intercooler, bolt it to the stock bumper brackets using the stock bolts making sure to align the lower intercooler coupler with the end tank and secure with the 288 clamp placed over the coupler in step 8.
7.Place two 288 t-bolt clamps over the silicone double 90 coupler and fit it to the upper charge pipe and intercooler and secure with the clamps.
8.Reconnect the MAP sensor and vacuum line on the lower charge pipe
9.(optional) Install BOV onto upper charge pipe. Remove line from BOV solenoid and route to new BOV.
When switching to an external BOV the stock BOV should be blocked with the included shim
When converting to a Blow through MAF setup, it will require a tune
Update note: As of September 2022 we are now including our ZZP stencil with all heat exchangers and intercoolers. This way you can choose to leave the intercooler blank, or spray paint the ZZP logo with your choice of color to match your build. If you'd like to purchase a ZZP stencil for your intercooler or heat exchanger they can be found here.


